Bring Heritage Home with Traditional Board and Batten Siding

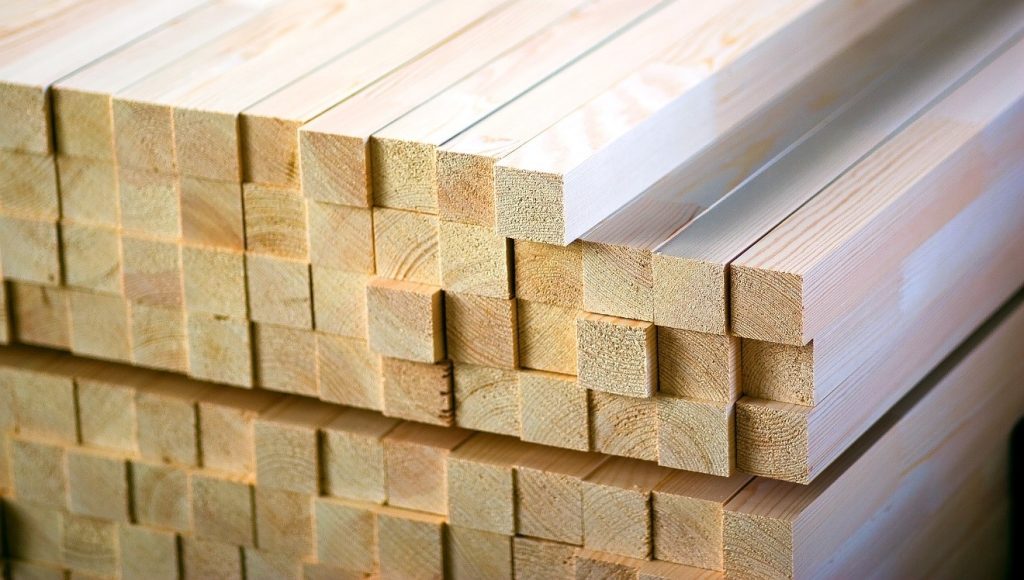
The advent of the sawmill in the 1830’s changed how homes and barns were built and sided forever. The common and garden ‘barn siding’, board and batten, has seen a huge increase in popularity in the home market in the past few years, with its rural appeal and legacy look.

Board and batten traditionally consisted of wide boards of wood placed side by side, with narrow battens (thins trips of wood) placed over the seams.

The thin flexible wooden strip of wood is named after the batten of similar nature that was used to flatten out sails on a ship and is also credited to the expression ‘batten down the hatches’ from its use at sea where it was placed across door handles to secure them from flapping open.

The use of traditional board and batten siding began in the Gothic Revival period of architecture as a new style of vertical lapping of thin ‘baton’ strips of wood placed over wider boards to seal out moisture and drafts. As trees grow vertically their timber was milled the same direction and it was simple to use the long planks of wood in the same direction and gave the advantage that rain and snow would not collect on each projecting batten.

Sawmills were able to churn out vast quantities of lumber in these thin strips and when added to fill the gaps between wider boards they vastly improved the seal of the siding of a building.

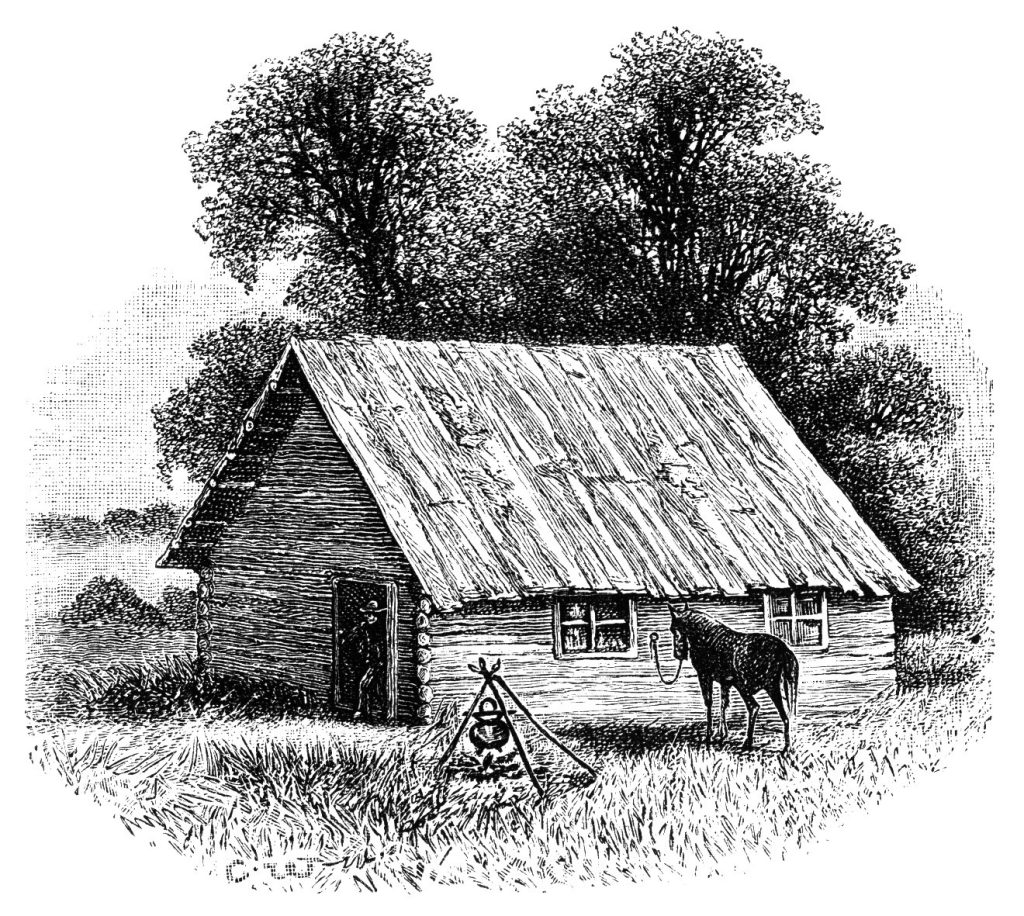
The use of board and batten in barn and house construction was easy to install and offered a user-friendly alternative to building a log cabin. The addition of the batten made the interior of the barns and homes warmer than a log-built structure.

Originally, log homes were not energy efficient having multiple gaps and crevices that allowed heat out and cold air in during winter months. Additionally logs often harbored insects and creepy crawlies of many species and allowed vermin access to the interior space. While the gaps in logs were commonly stuffed with moss or lichen, clay or dirt, the inevitable dampness and stickiness that emanated from their surfaces as they aged provided a less than perfect environment in which to live.

Farmers quickly embraced the board and batten because it was less expensive than a log built, less arduous to construct and more efficient. It also offered the amazing ability to construct buildings taller than before, as log homes were commonly only built to a man’s height, as that was as far as he could reach!

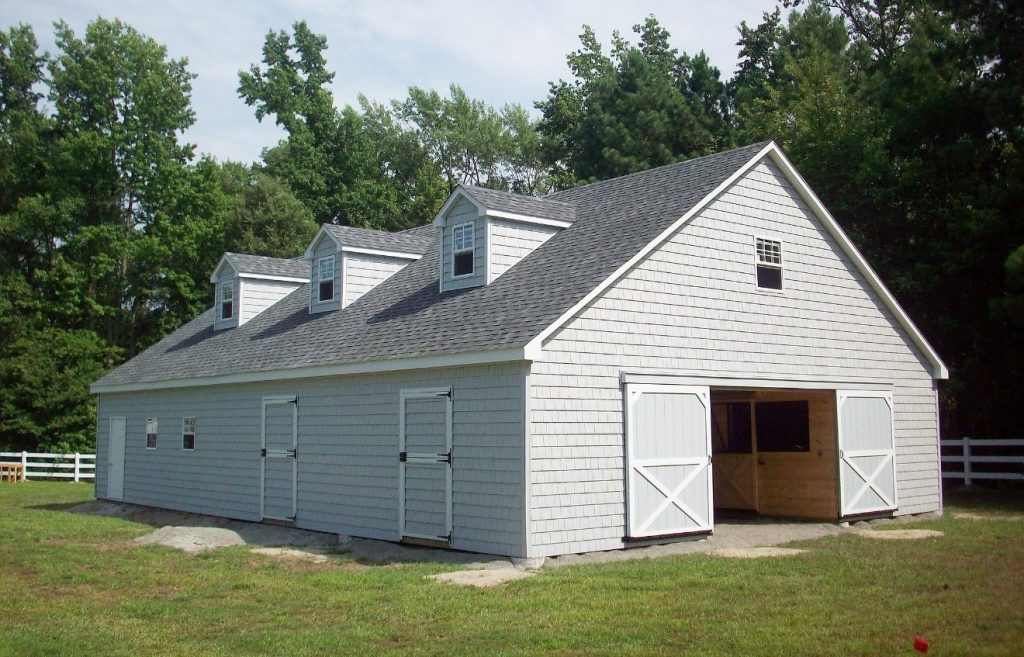
Today modern board and batten home siding is designed for effect and there is no addition of battens after the boards are placed across stud walls. There is a tremendous variety in colors, materials available (wood, vinyl, steel and fiber cement), and size of boards. It is an aesthetic architectural choice that offers the appeal rural and traditional characters.

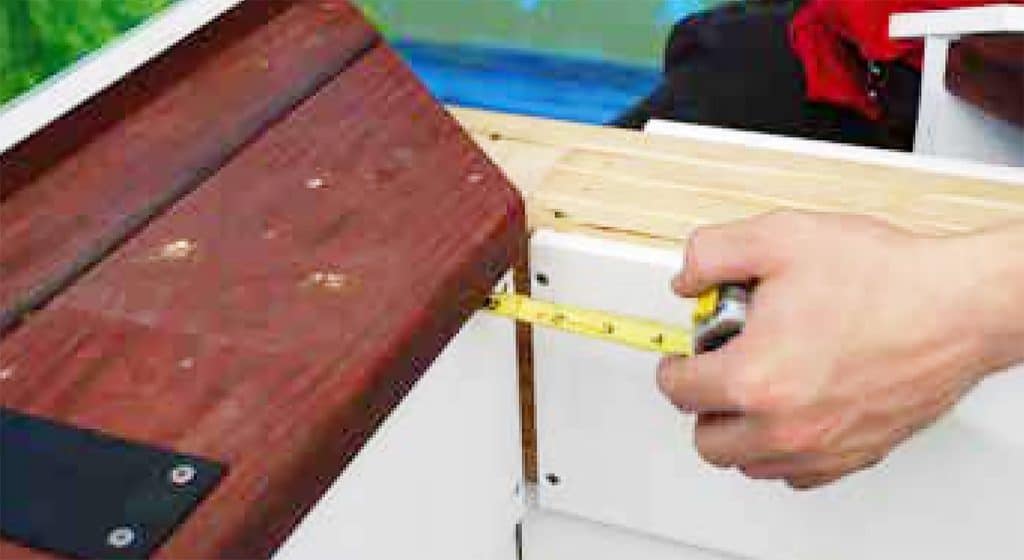
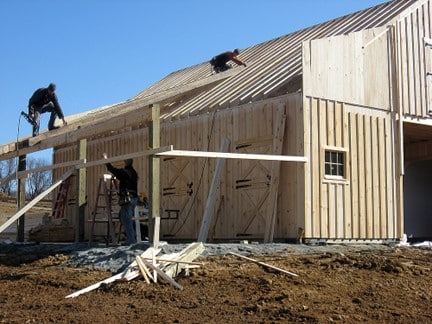
When it comes to building a horse barn, the pros and cons of board and batten siding are similar to those in days gone by, but not the same. Amish craftsman in the barn building industry have long used board and batten installed in the traditional manner as separate pieces of wood, and the rustic quality of the finished result is hard to equal when it comes to mirroring and honoring past traditions.

The Pros of Board and Batten

  • Easy install
  • Effective for making an airtight seal
  • Varietal materials can be used, including wood with its natural insulation properties, steel, fiber cement and vinyl
  • Battens used in certain modern-day products are purely decorative offering versatility in design
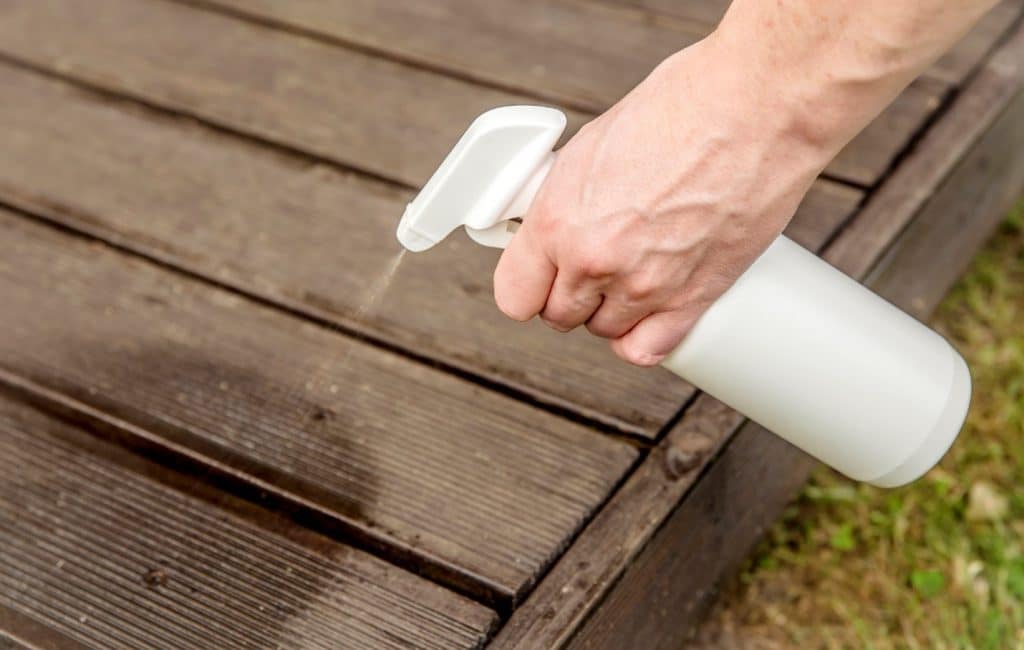
  • Wood can be stained with long lasting products to offer protection from insect damage and water damage
  • Siding can be painted or produced in a range of colors
  • Traditional, rustic appeal when wood is used
  • Flexibility in creative design – the closer together the battens are spaces the more textural/3 dimensional the finished appearance
  • Boards and battens can be installed horizontally or vertically

The Cons of Board and Batten

  • Installation can be a lengthy process increasing labor costs
  • Bottom of unprotected/sealed boards and battens may rot with ground contact
  • Requires due care and attention to install with specific spacing for girts/studs or framing support members
  • Steel and fiber cement materials can be more expensive than vinyl and wood options

When resourcing the best siding option for your horse barn consider products such as low maintenance LP Smartside and Duratemp ( a manufactured wood siding), as well as traditional board and batten wood products. All offer pros and cons and with research the barn building budget can be ‘brought into line’ with clever use of the right siding option

Consider however the long-term costs of implementing a siding that will require repainting, re-staining or other maintenance. Stains today are available with a 15-year warranty. Also bear in mind that factory applied stains and paints will necessarily last longer than those applied on site, as moisture and humidity is controlled in the factory environment for optimal temperature and conditions during application.

The type of wood used, and its grade also significantly affect its longevity. While a Grade 1 (less knots) or top of the line wood such as cedar is not necessary, products such as Southern Yellow Pine or Cypress can make fine siding choices. When housing animals there are many safety advantages of opting for wood over metal siding too.

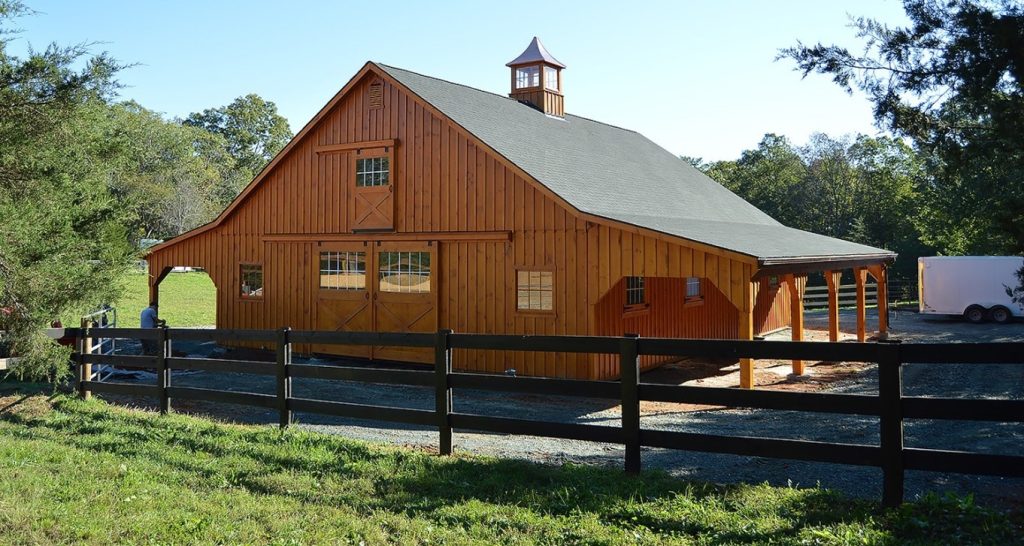
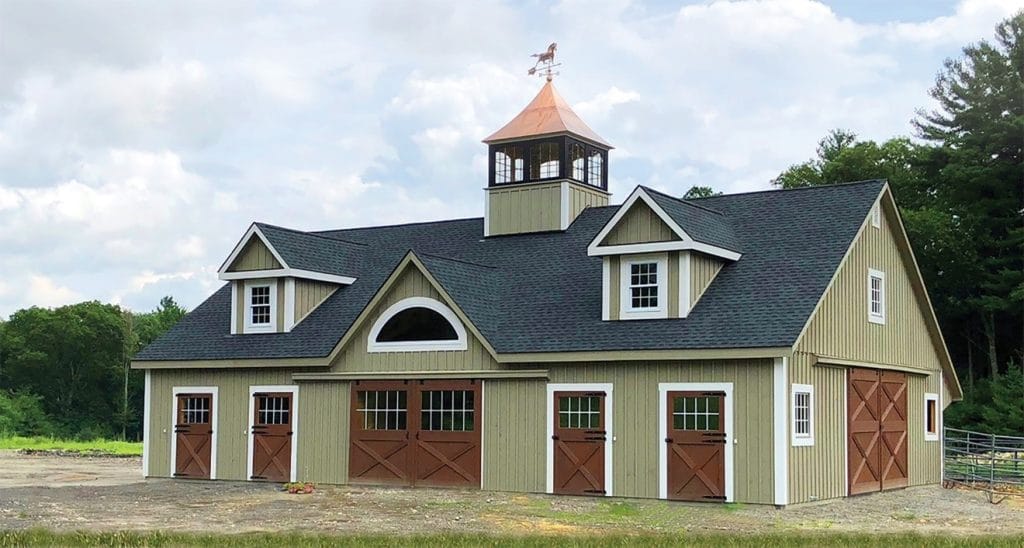
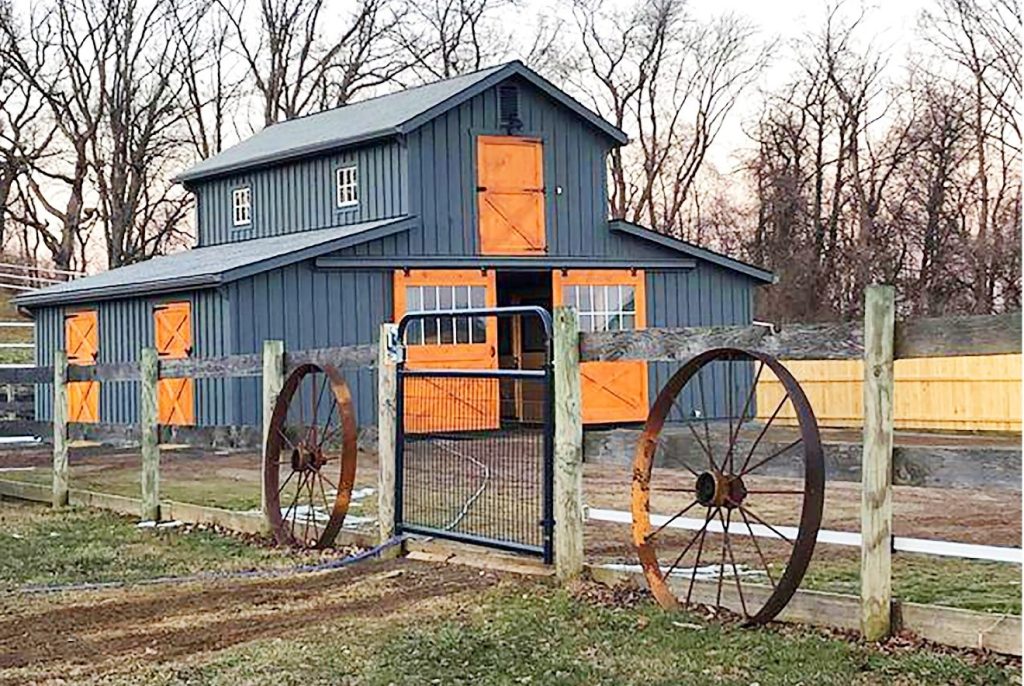
Placing the boards vertically will increase the appearance of height of the building while placing them horizontally will promote an appearance of a wider building with a larger footprint.

The closer together you place the battens the more each effect will be impacted.

Vertical placement offers better water shedding capability and offers less opportunity for small insects such as hornets to nest.

Color considerations are also important to factor into your selection of traditional board and batten siding, as the color of the side of the building dramatically influences the overall aesthetic of the structure. Barn color choice does matter! And not just for appearance, it also directly affects how hot or cool the building will be to use during extreme temperatures.

Try to locate a horse barn building company that can offer multiple options in the siding style and materials used to give you a complete choice to enable you to make the perfect selection for your needs and wants that also offers warranty protections for products utilized.

Making The Most of Your Hobby Greenhouse

The acquisition of a hobby greenhouse is every gardener’s dream event. The virtually bug-free, temperature-controllable environment is a boon to not just the length of the growing season but also offers an opportunity for experimentation and creative flair.

There are a few things to know before you grow. Pre-emptive measures can save plant loss and increase the satisfaction of owning your very own backyard hobby greenhouse. Let’s dig in…

Enhance Temperature Control

The addition of fans and shade cloths to a greenhouse can make all the difference to counteract the effects of extremely hot weather. Not all plants enjoy being baked under polycarbonate or glass despite regular watering. The use of humidifiers and the ability to modify the temperature of the greenhouse interior are valuable tools for creating a microclimate where plants will thrive.

Automated fans work well, and additional oscillating fans can help defray heat spots within the greenhouse.

Coordinating some form of wireless temperature transmitter to communicate any huge variances in temperature that may occur and require immediate action.

Ant Invasion

Inevitably the busy and resourceful ant fraternity will discover your plants and the feeding supply keeping them healthy and growing. While wiping down surfaces with acidic products such as vinegar and lemon juice may deter their travel across certain surfaces, it is best to deal with their activities on a more permanent basis and eradicate their presence.

An effective but simple trick is to dissolve some sugar in warm water and add a teaspoon or two of boric acid (easy to source at your local pharmacy and inexpensive) to the recipe and place the mixture in a saucer or shallow vessel with access for the troop of ants to find during their reconnaissance. The clever ants tell each other where this rich new food source lives and before long with military precision a long line of ants will march back and forth from sugar mixture to their nests to store and digest the feast. This ingestion will cause their demise.

Water Management

Don’t forget to add gutters to your backyard hobby greenhouse if you don’t want muddy ground on either side of the greenhouse or water migrating into the interior of the space. The collection of guttered water for watering needs may be an option if the roof contains no toxins or toxic chemicals within its construction at seams or materials used for roofing.

Many gardeners use the long sides of their greenhouses as handy additional beds to set up plants that may benefit from their proximity to the warmth of the siding of the greenhouse during summer months and/or protection from strong winds.

Know Your Bugs

It is inevitable that bugs of some sort will either fly into the greenhouse when the screen door is ajar or arrive on a plant moved into the greenhouse from elsewhere.

Some research into the more common pests that attack plants and the ability to recognize and treat them can prove useful in preventing an infestation and attacking any emerging threat before it takes hold.

Common pests include aphids, mites, cabbage loopers, caterpillars, slugs, and whiteflies.

Biosecurity measures such as placing screens on the open greenhouse windows and at doorways and regular checking of plants within the greenhouse are good ways to mitigate the risk of pest intrusion.

You may consider adding yellow sticky cards and other user-friendly safe ‘traps’ around the space to capture unwanted residents that try to set up shop. However, be aware these sticky mats can also capture beneficial visitors that actually help plant life stay healthy such as ladybugs and spiders.

Fungus and Diseases

All plants can host diseases from time to time and being able to recognize and treat common issues quickly is a smart way to minimize their damage. This is a great resource for handling everything from powdery mildew to mites.

Write It Down

Keeping a record of high and low temperatures, and your growing pattern and success of growing and going green is a huge asset when it comes to those long winter evenings pondering about how life with the backyard hobby greenhouse could be more productive.

Every location and even micro-region provide different challenges and tracking daily changes can help you manage a better trajectory next season.

Bottom Up

Water seedlings and plants from the base to avoid the myriad of issues that can occur with damping off. Don’t use ice cold water as this can shock plants and lead to plant loss.

Remember to dilute all fertilizers and apply carefully away from roots. Follow recommendations from the manufacturers of these products carefully.

Be careful not to use soil and mulch products that are chemically treated as this may negatively affect the safety or organic benefit of vegetables or fruits that are to be ingested. There are many remedies that can be used to safely preserve, treat, and grow healthy plants and vegetables that do not require the use of risky or untested products in the greenhouse food chain that you are likely planning to feed the family.

Don’t Delay Your Planting Building a Greenhouse… Buy PREFAB!

Horizon Structures Greenhouses are Delivered Fully-Assembled and Ready for Immediate Use
Learn More HERE.

3D Your Backyard with the Whole Kit and Caboodle

Making the most of your backyard space may include creating lawns and areas for the kids to play, the addition of a playset, designing functional vegetable gardens and increasing the aesthetic value with pretty beds of flowers, spectacular shrubberies, or majestic trees.

If you want to make the world of difference to your property, consider going 3D in a simple and fun way by building a pergola or pavilion. These structures not only look great, but they also offer a boost to your outdoor living lifestyle by increasing the amount of time you can spend outside regardless of weather impediments such as hot sun or summer showers.
Building an outdoor living structure is like putting together a giant jigsaw puzzle and it’s a fun filled experience that the whole family can be involved in making it a satisfying and educational event that yields more than just a great structure at the end of the day. Ensure you keep children a safe distance away when moving, lifting, or raising the heavier parts of the kit such as headers and posts. Kids love to be involved in finding the right bolt or handing you the right screws on the ground and are all good learning opportunities.

The ‘whole kit and caboodle’ arrives with components all pre-drilled/measured and all materials included. Building it is akin to working with a massive Lego set that is all pre-engineered to fit together in perfect unison. It’s the best jig-saw puzzle ever.
A two-person crew may be needed to lift rafters atop the frame and secure framing members for the roof of a pavilion and finish the roof. Detailed instructions arrive with the kit and just a few tools are needed that are usually readily available in most homeowner’s toolbox.
Let’s Dig In
The site needs to be level and ready to go before you start building a pergola or pavilion, and the kit package should be set as close as possible to the site and left unopened and protected from the weather until you are ready to start.
Timewise you should allow approximately 4-5 hours for two people to put together a pergola that is 10’ x 14’, but of course the timeline depends on the talent and experience of the crew. A pavilion will require more time as it is a bit more involved. The roof will require ridge installation and roofing materials will need to be laid.
Measure Carefully
In any building project the number one rule is to be accurate with the measurements. When you purchase a kit for a pergola or pavilion a lot of the guesswork is taken out of the project as the materials are prefabricated making the construction easier to do right and more pleasurable to undertake.

In fact, building from a kit can make Mom and Dad with very average construction talents look like rockstars of the building trade! As long as you don’t mind climbing a ladder and being on the roof of the pavilion wielding a hammer or stapling down tar paper.
Read. Read. Read.
The manual provided with each kit is simple to follow and has illustrations that showcases exactly what needs to be done and in what order. Unlike working with a 2D jigsaw on the coffee table over the holidays the 3D jigsaw will be a bit more involved. You can’t just start with the straight pieces and go to the middle later.

A few thorough read throughs of the entire manual will help you retain and understand the process. Try and pick a good weather day without blistering heat or rain to complete the project and take lots of breaks to refresh and reread the manual. It’s a lot easier to do it right the first time.
More Posts More Labor
A simple rectangular structure with four posts will obviously be easier to assemble than a larger 6 or 8 post structure. That’s something to consider when you are sizing the project before you purchase the kit.
Maintenance Madness
If you are like many busy homeowners, you like doing things once and not having to come back and repeat and repair the job later.
Think about choosing modern products such as Azek and vinyl rather than traditional wood if you want a low maintenance option. Similarly, a metal roof rather than a shingle roof may be your best choice as it will last longer without requiring repairs.
The Pergola/Pavilion Advantage Over the Gazebo

All three outdoor living structures provide added value for a healthy outdoor lifestyle, but the advantage of building a pergola or pavilion is that they offer a gathering space that is readily adaptable for both small and larger family events. They will accommodate varying numbers of visitors whereas the gazebo will be limited in its ability to host the number of guests at an event by its interior space defined by the fixed walls.
The EZ Shade Advantage
To provide additional protection to the occupants of the pergola or pavilion from the sun’s rays or cool breezes, consider purchasing an EZ Shade. The versatility this product offers is a valuable adjunct to the functionality of the structure.