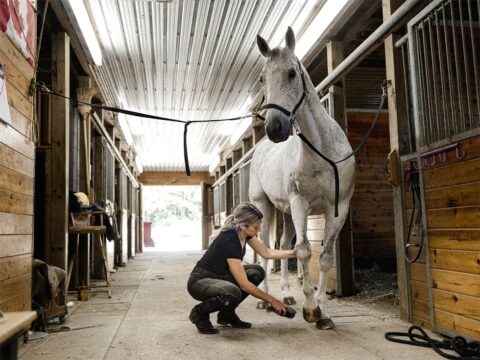
Despite the greatest of intentions of horse aficionados that adopt modern day horse care methods, these often fall short of offering what our noble wee beasties really need and would prefer.
Continue reading
Despite the greatest of intentions of horse aficionados that adopt modern day horse care methods, these often fall short of offering what our noble wee beasties really need and would prefer.
Continue reading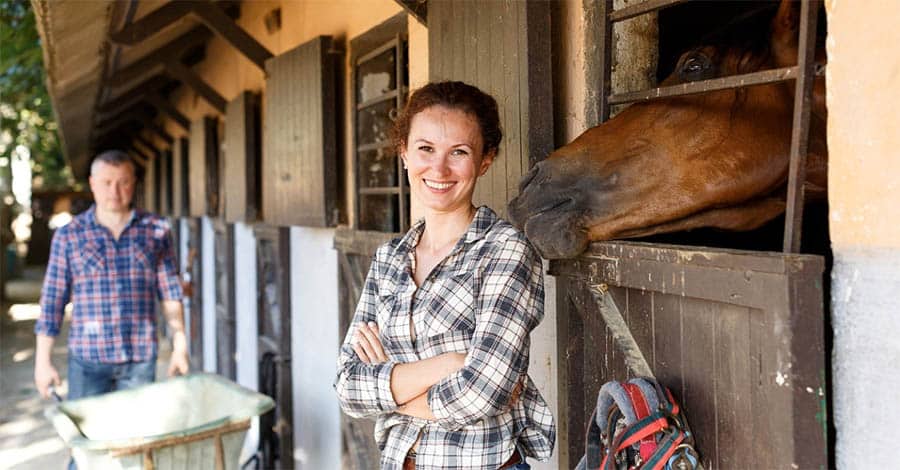
Horse businesses are notoriously difficult to make profitable. It’s not surprising that operating a horse facility is often a labor of love. And one that requires much hard work.
Continue reading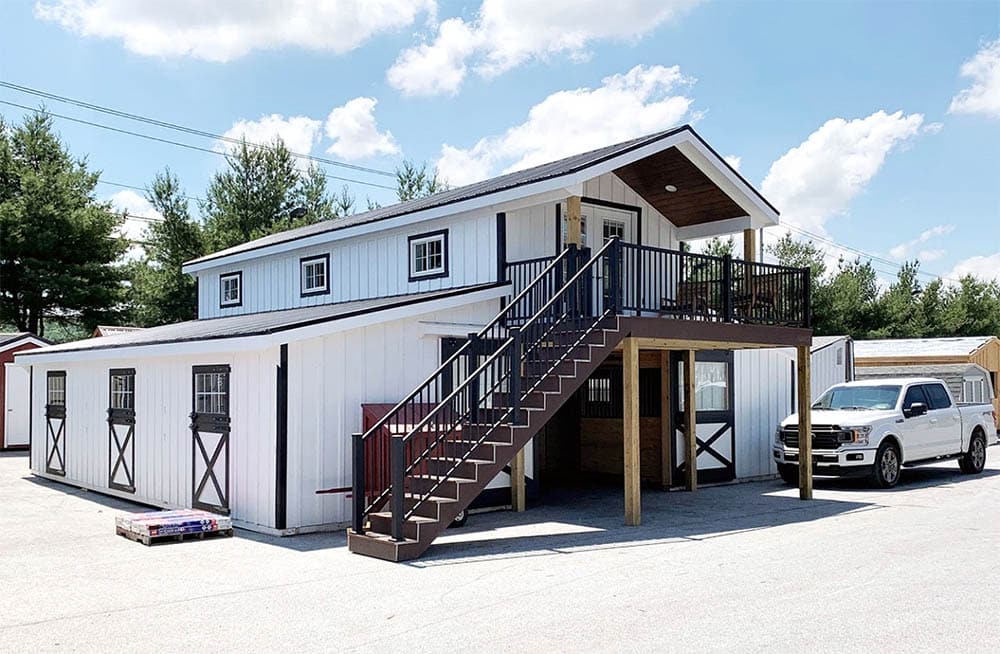
Horse barns by their very nature lend themselves to the Barndo concept. But there are many advantages and disadvantages to the upstairs downstairs living with horses lifestyle.
Continue reading
When the weather forecaster brings news of impending hurricanes or severe weather, the horse caregiver needs to take charge of how to best manage the safety of their beloved equines.
Continue reading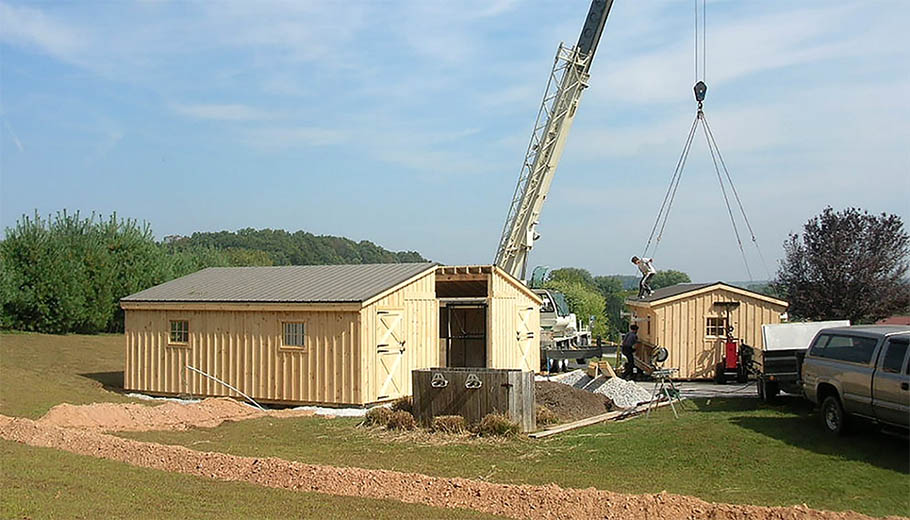
Modular construction gives horse folks a means to not just easily manage their building project but also to develop it with an eye to future needs for income streams and leverage a lifestyle for their entire family to enjoy
Continue reading
A Barndo build offers an eco-friendly smaller footprint than building a home and a horse barn separately.
Continue reading
Commercial kennel needs run the gamut from breeding to boarding facilities to K9, Military Working Dogs (MWD) and other service dog operations. All animals need a great place to hunker down when not on duty.
Continue reading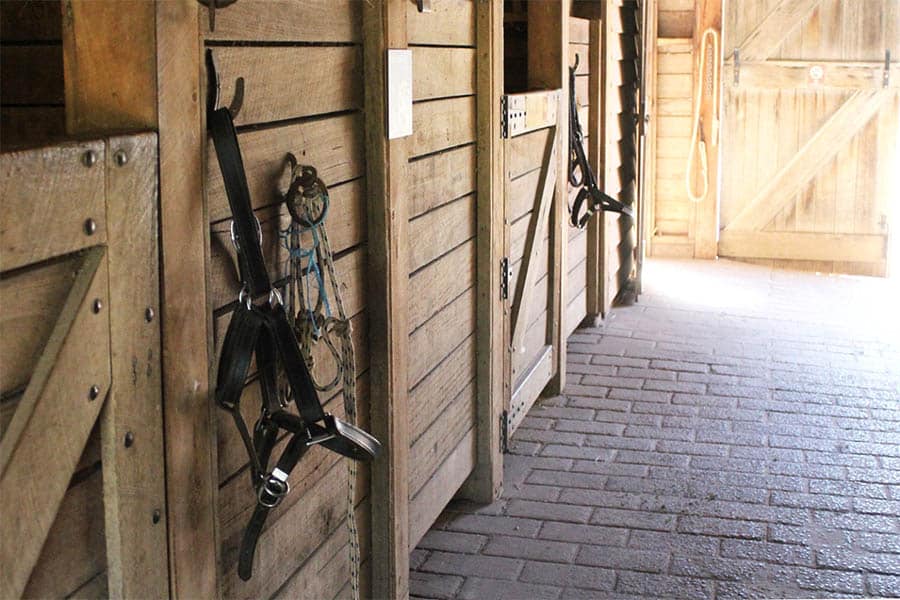
What type of flooring you install where, will come down to a number of factors. Here are a few pointers to help walk you successfully up that walkway.
Continue reading
In a stall or stable environment where containment is necessary, the horse or Equus will likely be more excitable to work around than one that is blanketed and warm.
Continue reading
A new horse barn or kennel purchase represents a significant financial investment for most folks and funding it can be worrisome.
Continue reading