Cold winter months may dampen the spirit with the arduous chores breaking ice, digging out from snowfall, and switching blankets on horses, but summer heat poses its own set of challenges.
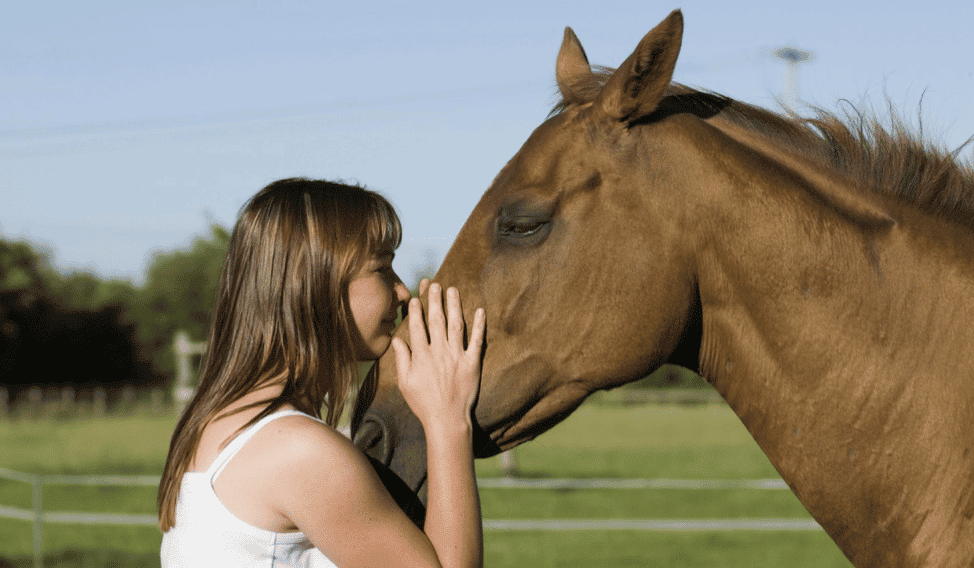
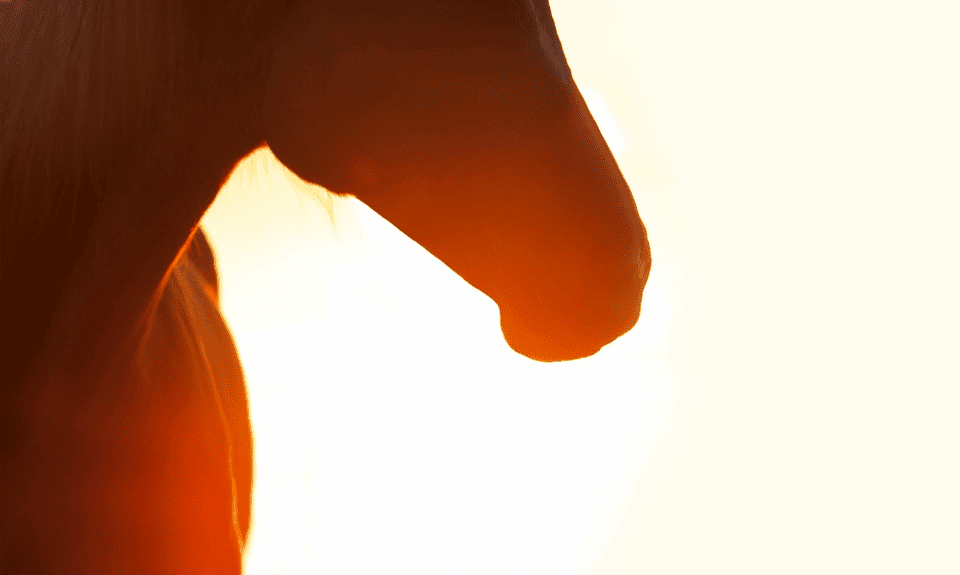
Hot, humid days with their sultry still air can cause horses and their human caregivers to become dehydrated. The impact of direct sunlight can cause sunburn around sensitive areas of the horse such as eyes and muzzle. If you’ve ever seen a pink-nosed horse standing with his head over the water trough on a humid day trying to improve his own oxygen intake and cool down, then you’ll probably also experienced rushing to the pharmacy for diaper creams and sunblock supplies in an attempt to fix sunburn that your horse suffers as a result of his effort to stay cool.
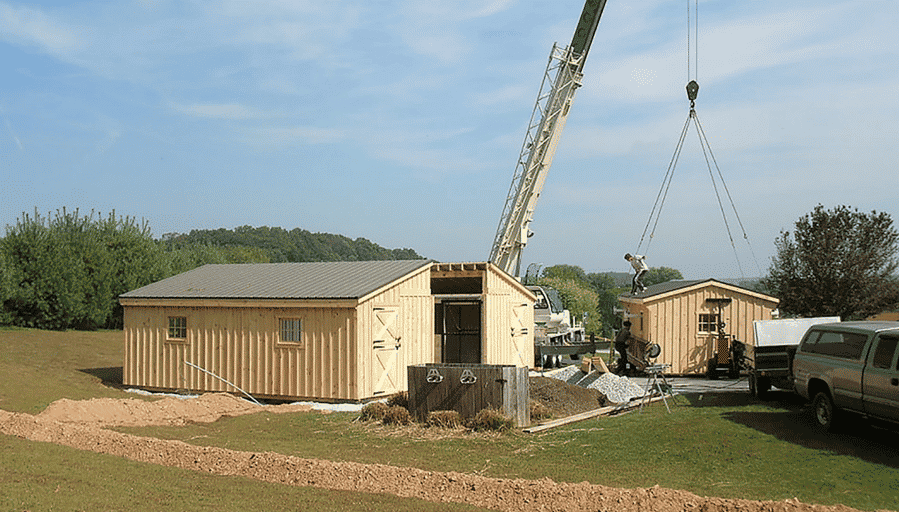
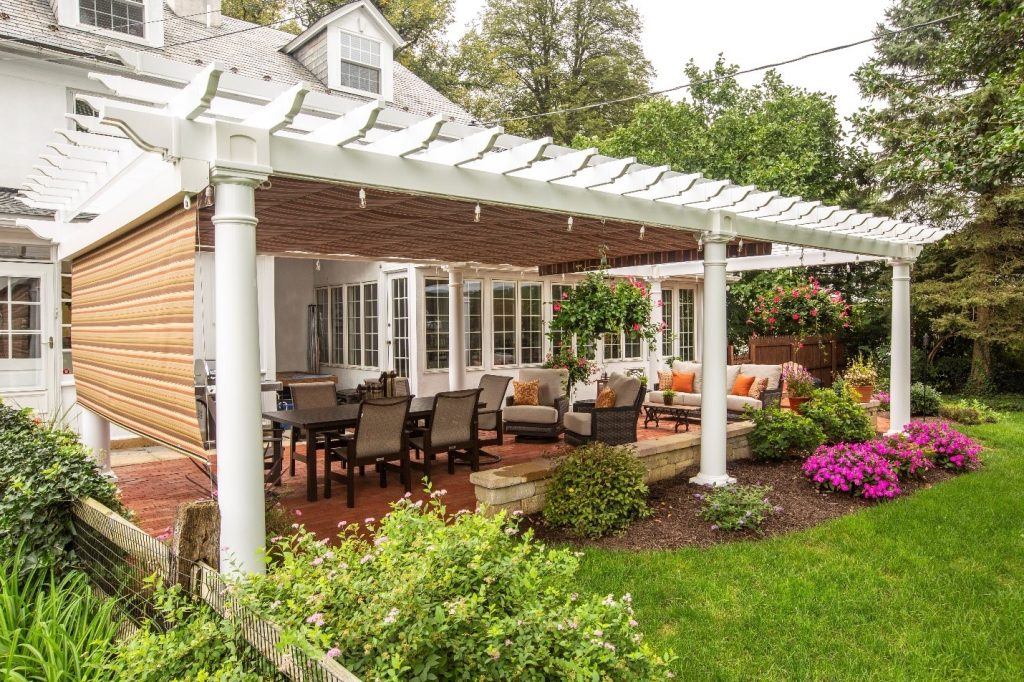
As with all things health wise, prevention is better than cure. When considering how you design and set up your horse barn it’s smart to plan for those ‘dog days of summer’ and add barn ventilation features that will be useful daily to mitigate the negative effects of high temperatures and humid days.
Passive Ventilation and Mechanical Intervention
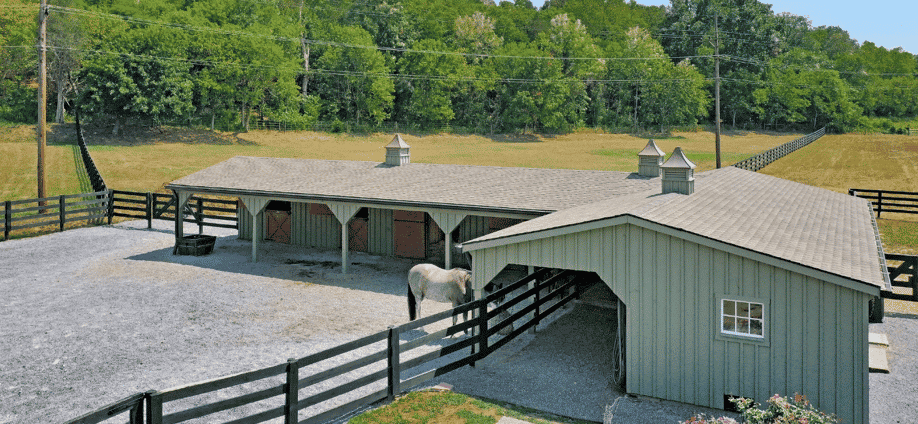
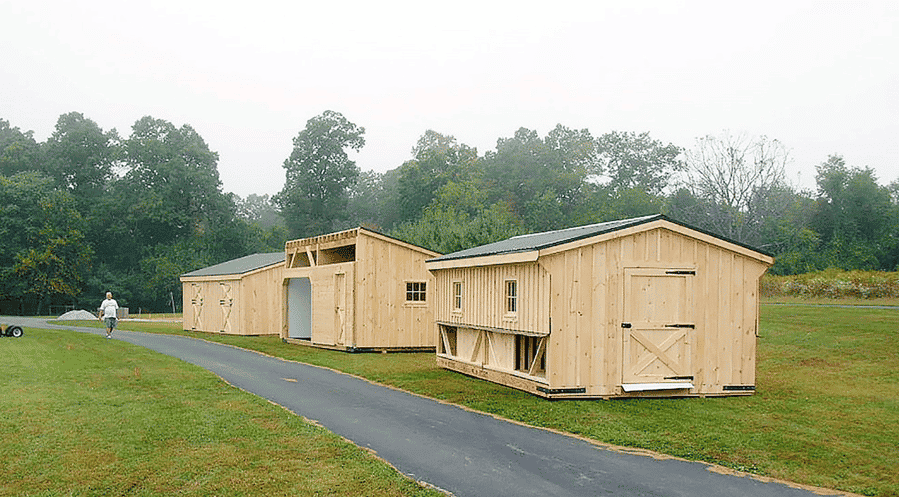
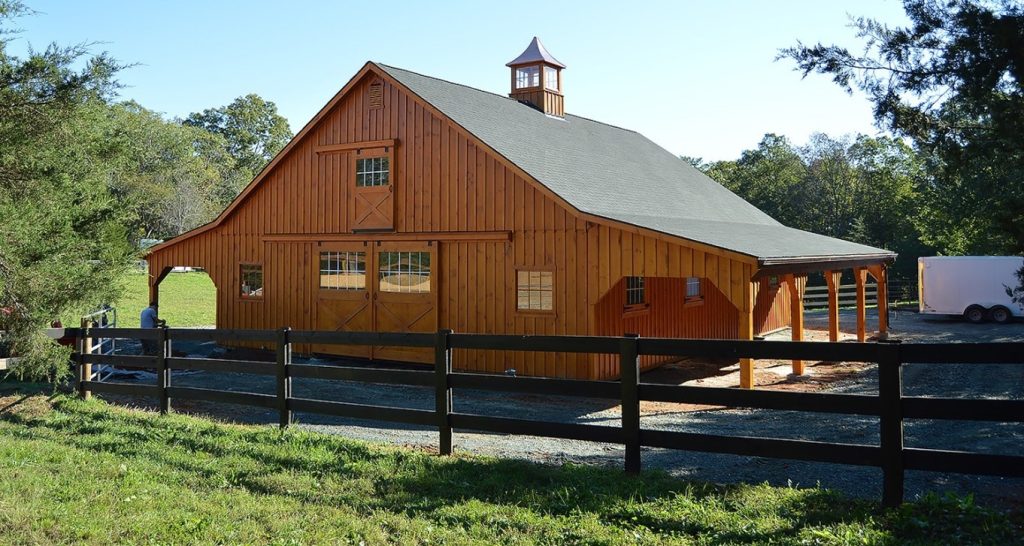
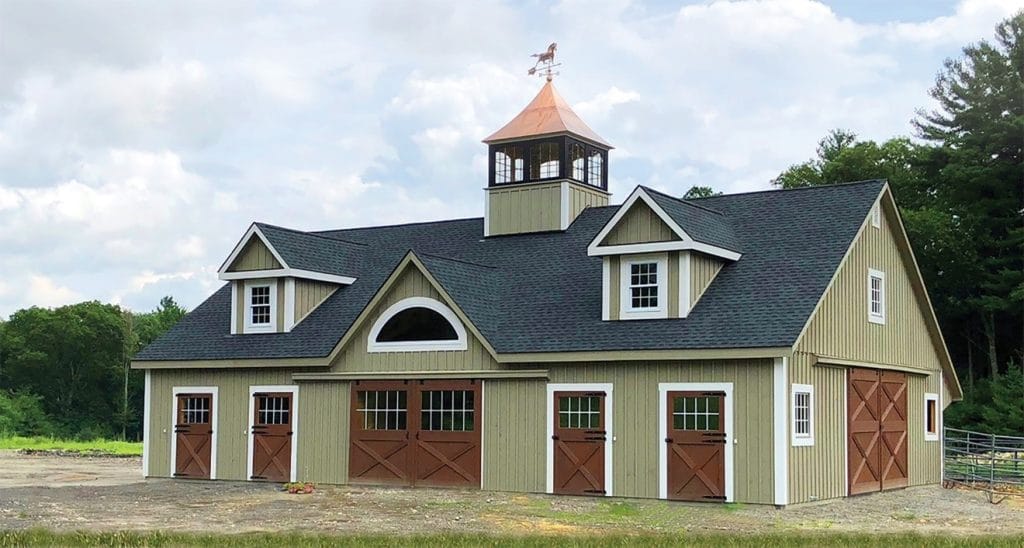
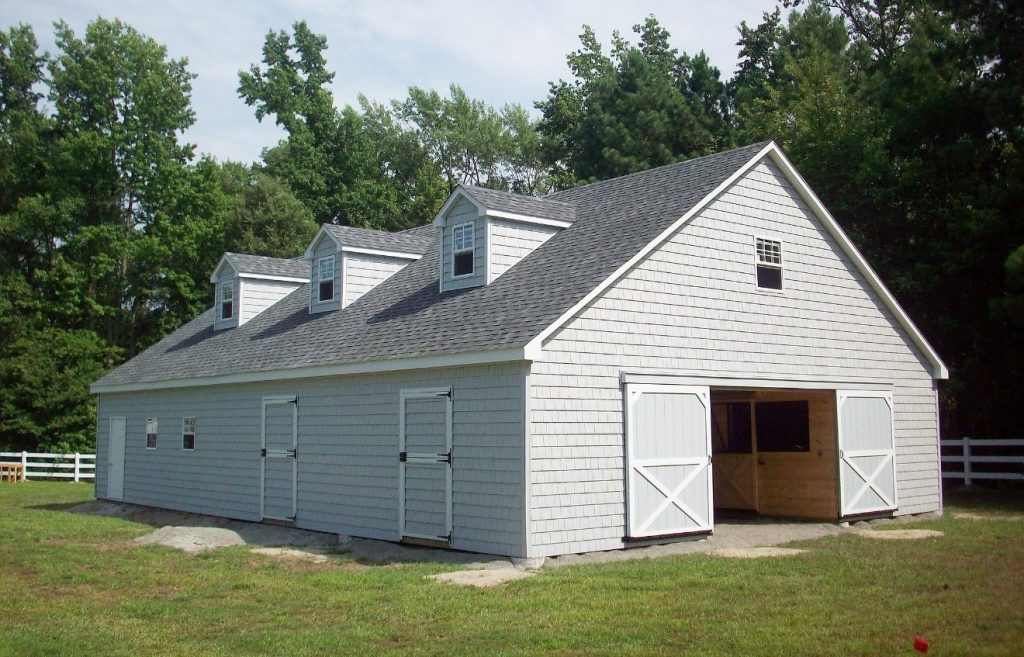
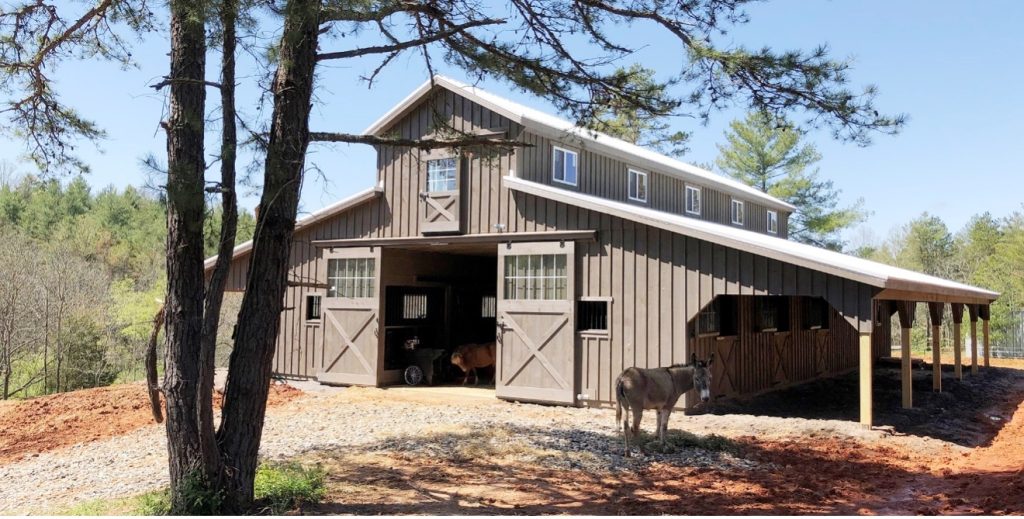
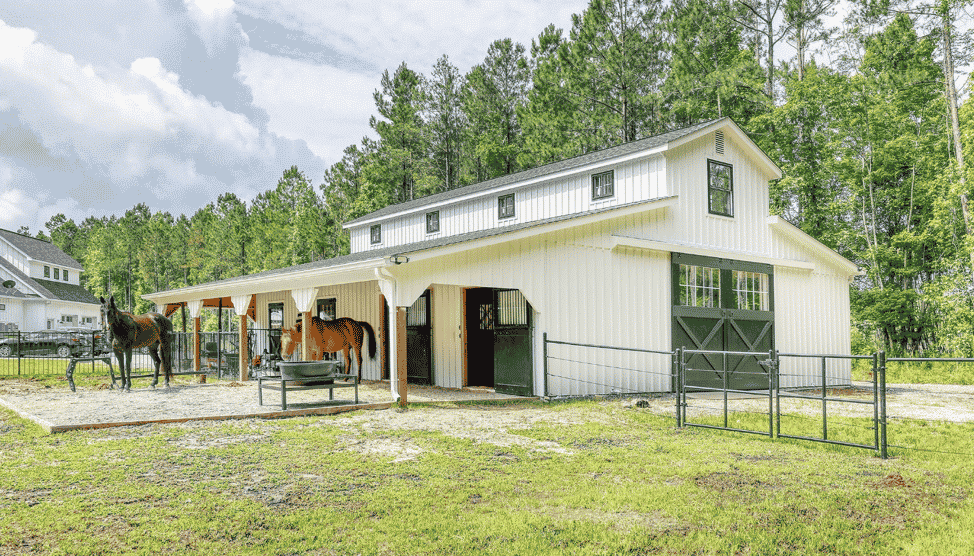
Cupolas, Monitor style horse barns with gable venting and a high ceiling with a long line of windows that can be opened, plus stall windows that can be opened in every stall can all aid in passive barn ventilation.
Siting the barn so that the sun arcs over the center of the building rather than along one side and for center aisle barns facing the entrance doors toward a prevailing summer breeze can all improve air circulation within the building.
Roof and wall insulation can further mitigate ambient heat from metal roofs and/or siding.
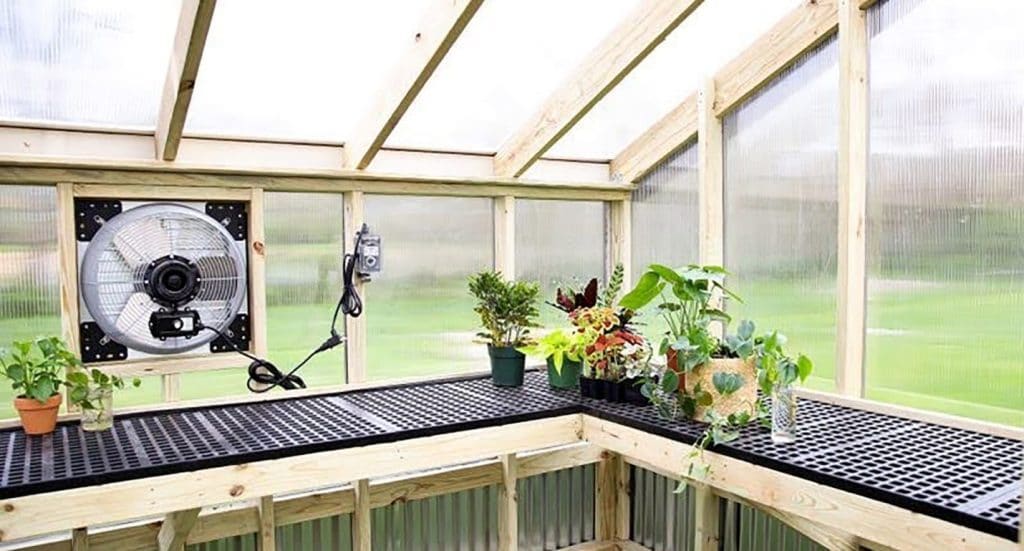
Mechanical intervention via commercial grade horse barn fans (any fan used in a barn should have a sealed/enclosed motor that is protected from dust), ceiling fans and fans located at the base of a cupola can all aid in moving air throughout the building.
The addition of shades on windows or shutters, can prevent the sun’s rays from entering the building and heating up the interior.
Shelter From Direct Sun
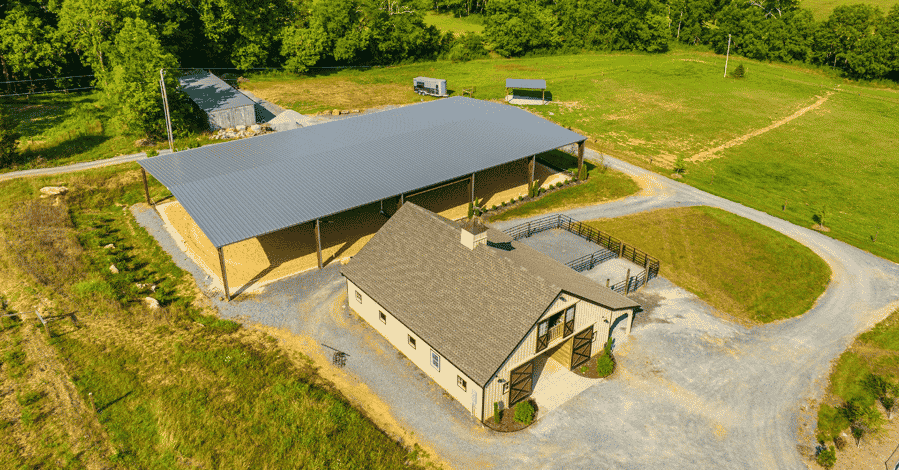
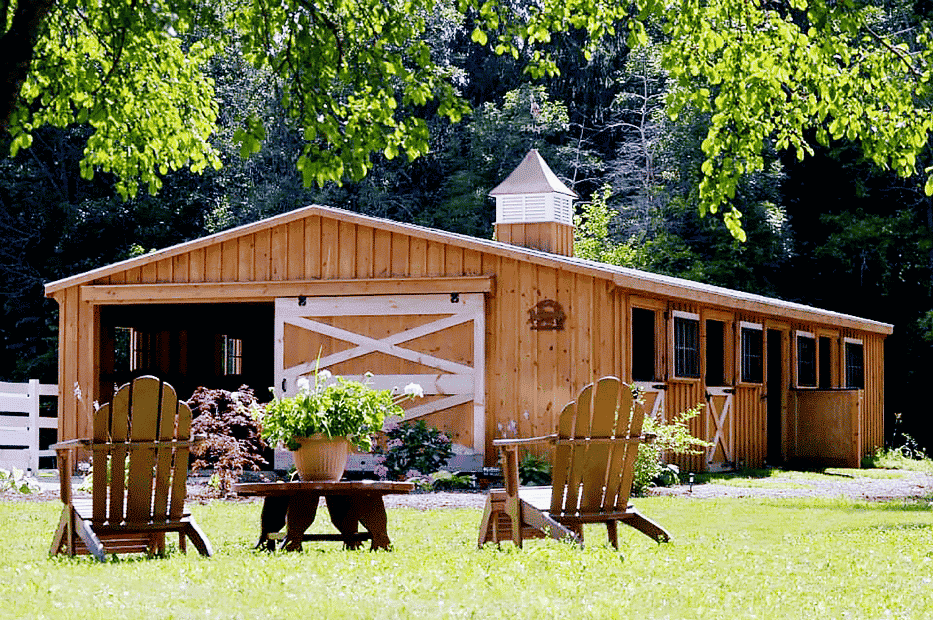
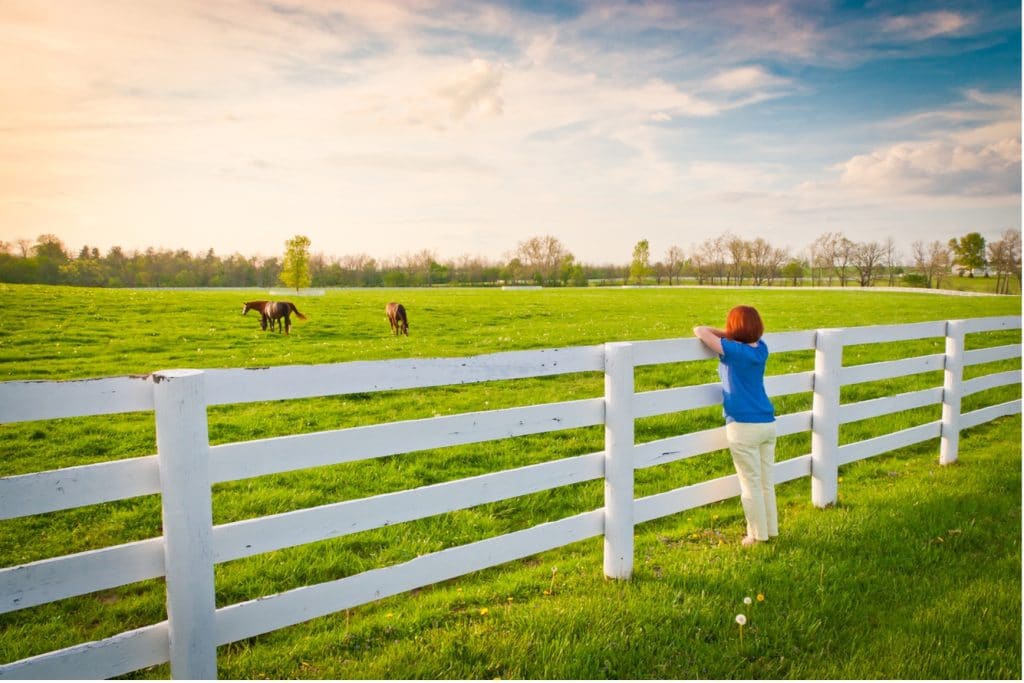
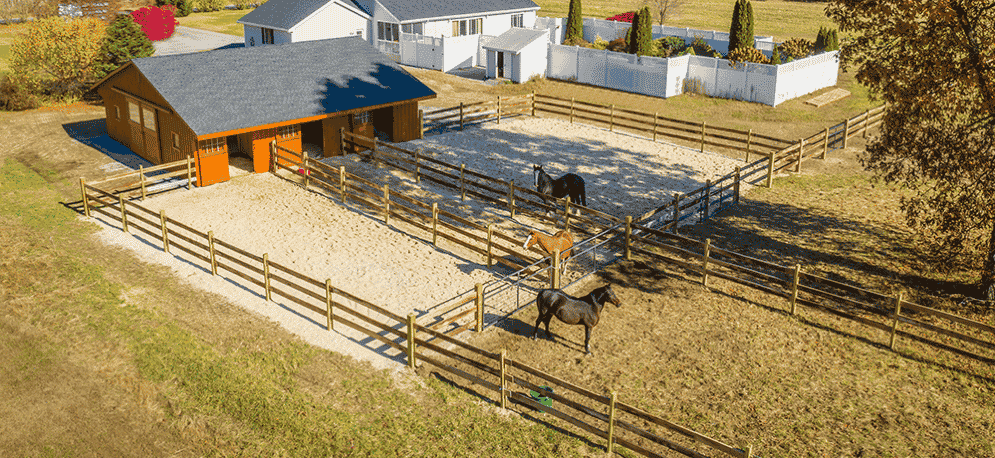
Horses turned out should have some form of shelter from direct sun. Ideally a large run-in shed that is sited to catch summer breezes without direct sun glare to its open side is best.
The addition of a grill protected window on the rear of the shed can improve airflow across the horses’ backs when they shelter inside the space.
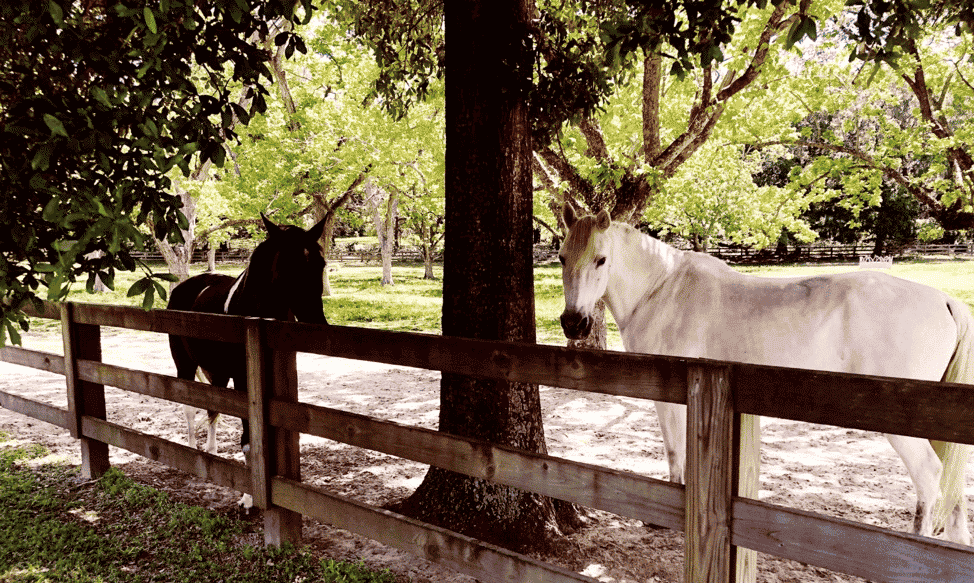
A stand of mature trees, a wall of a large building that is close by a pasture may offer shade and some protection from the sun.
Figure out how to keep your horse cool and how you can manage your horses’ turnout times to minimize their exposure to sun during the heat of the day. The routine of turning horses out at night after dusk and bringing them in early in the morning works well if your pasture has no available shelter from the sun.
For horses prone to laminitis, grazing grass during night hours also minimizes the risk of hoof inflammation as the sugars are lowest in the grass stems during this time.
Water and Wash Stalls
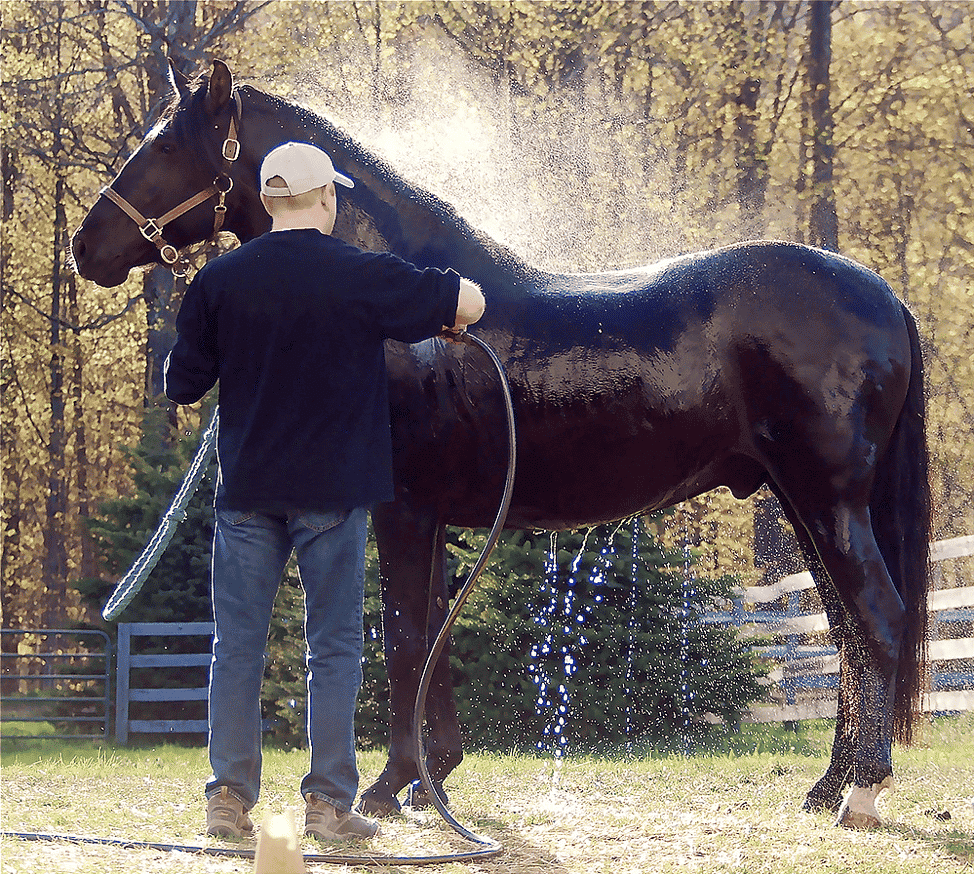
Incorporating a designated wash stall within a barn may seem like a waste of space when stall space is at a premium, but it is a significant boon to have a wash stall available especially during the summer months.
Standing outside the barn with a hose at hand also works, but you will have to deal with the biting horseflies and won’t be able to escape the sun.
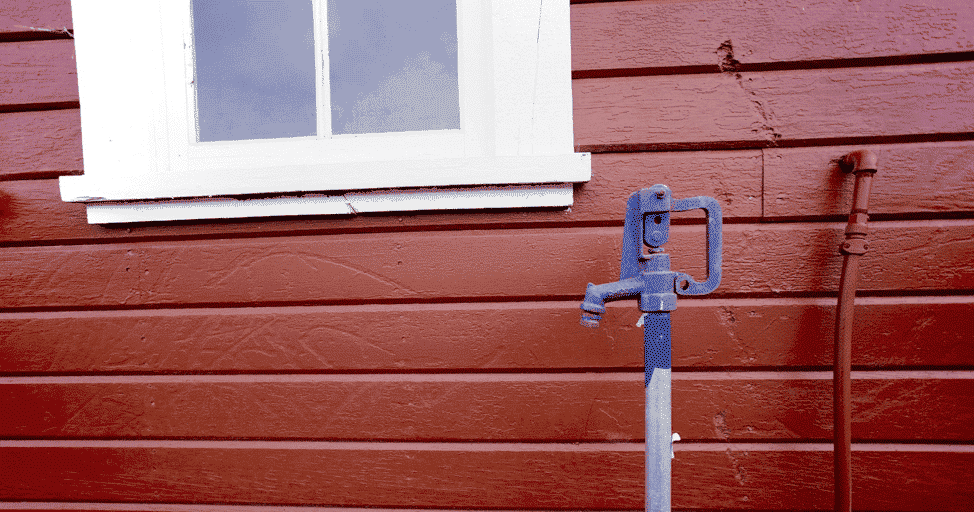
An outside wash stall space with a pavilion style roof can also serve well if a frost-free faucet or other water source is readily available outside.
A cold-water wash down using a sponge and bucket of water is also a great way to cool down a hot horse. Pay especial attention to the large muscle groups of the hindquarters and neck area.
Horses dehydrate quickly in hot weather so ensure a supply of fresh clean water whether the horse is inside or outside.
If you suspect your horse is overheated and application of cold water hasn’t lessened his respiratory rate after 15 minutes, then call the vet as this indicates sincere heat stress and requires medical intervention.
When designing your horse farm property or horse barn, a permanent year around water source is essential. It should be accessible, regularly cleaned and refilled to keep it fresh and prevented from icing up in winter or drying up or becoming contaminated with algae and other detritus in summer months.
Freedom to Choose ~ Let the Horse Decide
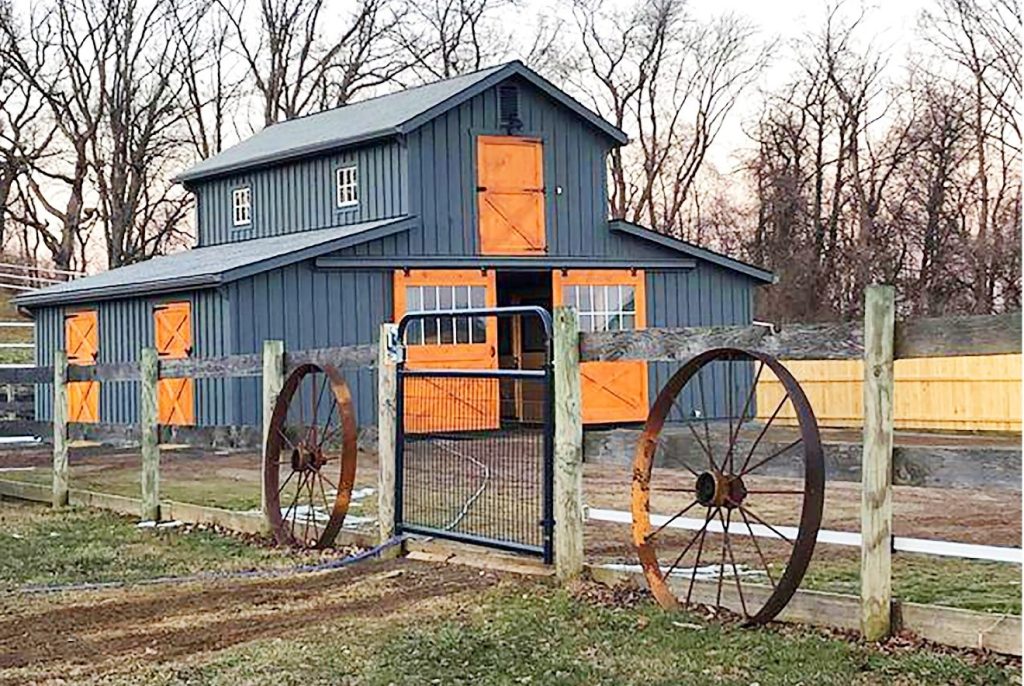
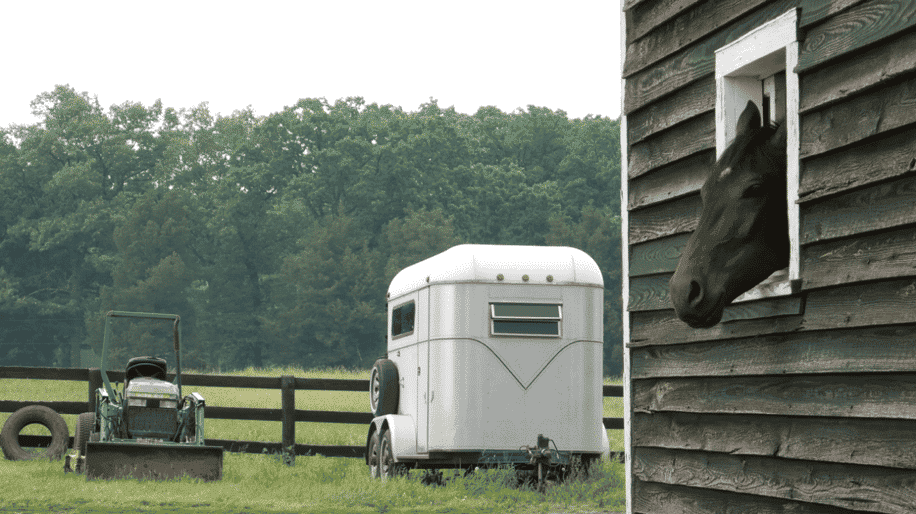
The beauty and benefit of adding Dutch doors to stalls that open to enclosures where the horse can decide it’s preferred spot to hang out during different times of day is a boon. The addition of an overhang to the barn design further enhances the opportunity to shelter from the sun and allows the horse to pick the best possible location for its comfort.
The inclusion of Dutch doors in the barn design can also facilitate additional airflow throughout the interior of the barn.
Moving still sultry air is essential to mitigate the negative effects of humidity on the horse’s ability to cool down and dispel body heat.
Riding High
Horses don’t get to choose when and where they are ridden. If you are riding high on your passion for working your horse in readiness for a competition, or schooling in a hot dusty outdoor arena focused on the task at hand, it is easy to overlook the stress you are subjecting your horse to by working him hard in hot weather.
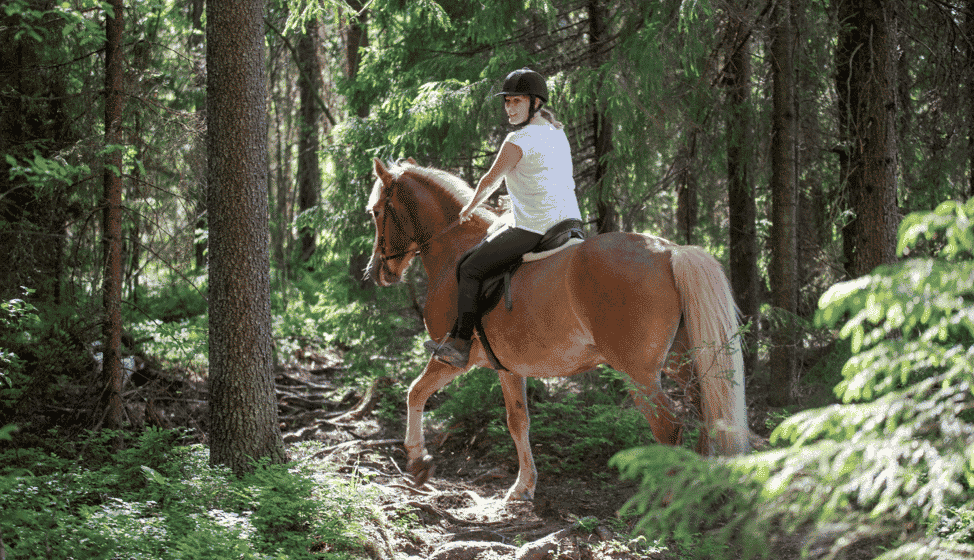
Ensure your horse is fit enough for the job you ask him to do by building up to the workload. If possible, avoid riding during the hottest times of the day. Choose the shady forest trail over the hot sandy mountain ridge, pick showgrounds that have good facilities such as barns with mist fans outside, mature trees for shade etc. that is, use your common sense.
Take lots of breaks between schooling sessions, provide electrolytes either in an additional water bucket to his regular water supply, or by administration of electrolyte pastes if necessary.
Always wash sweat off a horse at the end of a workout or if he has sweated up in a stall as the latherin and salts/minerals in the coat will hamper the ability of his skin to breathe and to continue to perspire to cool down if sweat is left to dry. There are different types of ‘sweat. A horse that has lathered into a white foam versus a stall bound horse that is perspiring to help dispel body heat both require a thorough wash down but the need for intervention with electrolytes may be different.
Age Matters
Pay especial attention to the very young or older horses, as both ends of the age spectrum are more readily affected by dehydration and ill effects from high temperatures and humidity than other equine age groups. This is because their ability to regulate their body temperature is compromised.
Whatever age your horse, you owe it to him to pay extra attention to his needs during extreme weather conditions. And don’t forget to manage your own too!